

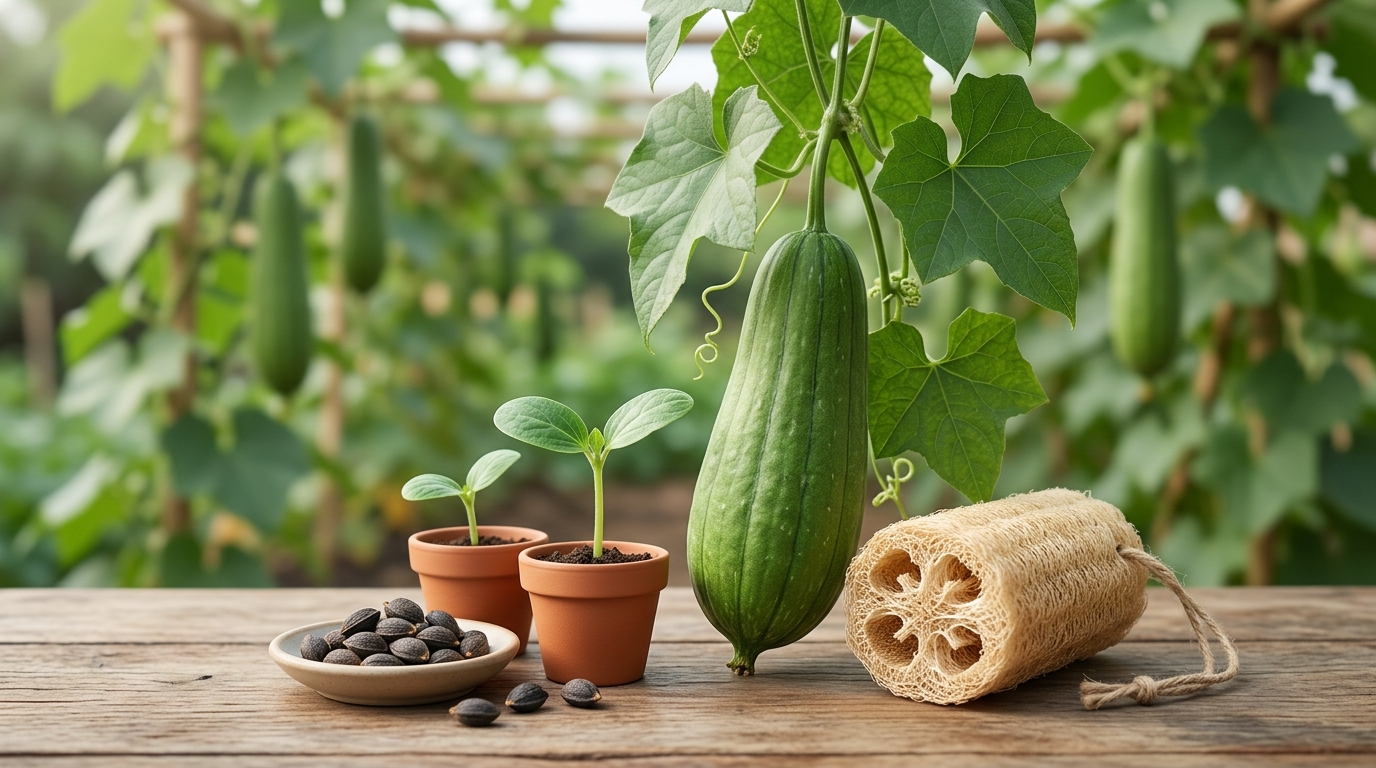
You bought plastic bath scrubbers for years, only to throw them into landfills where they sit for decades. Swapping synthetic mesh for home-grown vines lets you produce eco-friendly, fully compostable bath sponges right in your garden.
A single vine yields 10 or more natural sponges when given adequate warmth and structural support. By understanding vine mechanics, soil warmth, and peeling methods, you can turn a humble garden patch into a renewable household supply.
Why Should You Start Growing Loofah Sponge at Home?
Growing loofah sponge plants (Luffa aegyptiaca or Luffa acutangula) gives you total control over a sustainable, zero-waste household resource. Synthetic bath poufs shed microplastics directly into municipal water systems during every shower. Homegrown sponges are completely biodegradable and break down in garden compost within a few months.
Cultivating these vines yields remarkable returns for minimal financial outlay. A single $4 seed packet yields dozens of durable fibrous scrubbers that last for years. You can review detailed botanical profiles of the loofah plant to understand its annual growth cycle and morphology. Beyond bath scrubbers, mature loofah fibers work as tough dish sponges, pot scrapers, and natural exfoliators.
Gardeners across North America are turning to home-grown luffa as part of a broader push toward self-sufficiency. You gain complete oversight over pest management without synthetic chemicals touching your skin care tools.
What Growing Conditions Do Loofah Vines Require?
Loofah vines belong to the Cucurbitaceae family, sharing basic requirements with winter squash, watermelons, and gourds. They demand full sun exposure, receiving at least 6 to 8 hours of direct sunlight daily to fuel fast vine extension. Shaded areas lead to spindly growth, poor flower development, and delayed fruit set.
Soil condition directly dictates your final harvest volume. Loofah plants prefer loose, well-draining soil enriched with organic compost and a pH level between 6.0 and 6.8. Heavy clay soils retain excessive water around root systems, leading to root rot and stunted growth. For ideal success, read up on loofah growing conditions before building your planting site.
Heat remains the non-negotiable factor for luffa success. Seeds struggle to germinate in soil temperatures below 70°F, and vines stall whenever ambient night temperatures drop under 50°F. If you reside in USDA Growing Zones 6 or colder, early indoor germination is essential for success.
How Do You Start Loofah Seeds for Maximum Germination?
Loofah seeds possess extremely tough outer hulls that impede moisture absorption. Soaking seeds in warm water for 24 hours prior to planting softens the hull and dramatically boosts germination rates. You can also carefully nick the rounded edge of each seed using fingernail clippers or low-grit sandpaper to assist embryonic emergence.
Start your seeds indoors 4 to 6 weeks before your average last spring frost date. Plant seeds 3/4-inch deep in individual seed-starting pots filled with a sterile, lightweight potting mix. Avoid shallow seed trays because luffa roots extend rapidly and dislike disturbance during transplanting.
Maintain soil temperatures between 75°F and 85°F using an electric heat mat. Keep the potting medium consistently moist but never waterlogged. Expect seedlings to emerge within 7 to 14 days under warm conditions.
Once sprouts appear, position them directly under bright LED grow lights positioned 2 to 4 inches above the foliage. Adjust lights upward as plants grow to prevent leggy stems.
How to Transplant and Trellis Growing Loofah Vines
Transplant young loofah seedlings into the garden only after all danger of frost has passed and night temperatures stay above 50°F consistently. Harden off seedlings over 7 to 10 days by exposing them gradually to outdoor wind, direct sunlight, and ambient temperature swings.
Space individual plants 12 to 24 inches apart along your trellis line. Loofah vines grow aggressively, reaching lengths of 15 to 30 feet in a single season. Heavy fruit loads require a robust support framework constructed from cattle panels, chain-link fencing, or thick wooden arbors.
A flimsy plastic trellis will collapse under the weight of mature vines and rain-soaked fruit. Building a strong support system early prevents ground contact, which reduces fungal diseases and fruit rot. As vines climb, gently weave main stems through trellis openings or secure them using soft garden twine.
Mid-Season Care: Watering, Feeding, and Pollination
Loofah vines require consistent, deep watering throughout the hot summer months. Deliver roughly 1 inch of water per week near the root base, increasing to 1.5 inches during extreme heat spells. Drip irrigation or soaker hoses work best by keeping foliage dry and minimizing powdery mildew.
Apply a balanced 10-10-10 organic fertilizer at transplanting time to support early vine extension. Switch to a low-nitrogen, high-phosphorus fertilizer once flowering begins to encourage heavy fruit production over leaf growth. Over-fertilizing with nitrogen causes lush green leaves while suppressing bloom formation.
Loofah plants produce separate male and female flowers on the same vine. Yellow male blossoms appear first in clusters, followed by individual female blooms featuring tiny swollen fruits at their base. Native bees and honeybees perform most pollination naturally.
If fruit set appears poor, hand-pollinate early in the morning by rubbing an open male flower directly inside open female blossoms. Research published by the National Garden Bureau emphasizes that adequate pollination during mid-summer remains critical for maximizing yield before autumn temperatures drop.
How and When to Harvest Mature Loofah Sponges
Determining exact harvest timing separates usable sponges from rotten fruit. Green, heavy loofahs are young and edible, but they contain weak, undeveloped fibers that disintegrate during peeling. For durable bath scrubbers, leave fruit on the vine as long as possible until the outer skin turns tan or brown.
Mature loofah pods dry out on the vine, losing water weight and turning surprisingly light. You will hear seeds rattling freely inside when you shake a fully mature pod. Harvest all remaining pods immediately if a hard frost threatens, even if some remain green, as freezing damages delicate internal fibers.
Cut fruit from the vine leaving a 2-inch stem stub attached. Handle fully dried pods carefully to avoid cracking internal structures before peeling.
How to Peel, Clean, and Process Natural Loofah Sponges
Peeling a fully dried loofah is simple once the outer skin becomes brittle. Crack the bottom end of the brown shell with your fingers and strip away the papery outer skin in vertical sections. If the skin remains stubborn, soak pods in warm water for 15 minutes to soften the outer shell.
Once skin is removed, shake out dark seeds by tapping the bottom of the fibrous cylinder against a hard surface. Save healthy, dark seeds in a paper envelope for planting next spring.
Wash the raw fibrous sponge thoroughly in a bucket of warm water containing a drop of dish soap to remove leftover sap. Rinse completely and submerge the sponges in a 10% diluted bleach solution for 20 minutes to sanitize the matrix and brighten natural fibers.
Rinse sponges well with fresh water, shake out excess moisture, and hang them in a sunlit area to dry completely. For step-by-step guidance on understanding plant origins, explore where loofah comes from to optimize your processing techniques.
Troubleshooting Common Loofah Growing Problems
Short growing seasons remain the primary challenge for northern gardeners growing loofah sponge plants. If autumn cold arrives before pods mature, harvest green pods and hang them indoors in a warm, dry garage to cure.
Fungal issues like powdery mildew often strike in late summer. Space plants properly, trim lower leaves to enhance airflow, and apply neem oil early if white spots appear on foliage.
Pests like cucumber beetles and squash bugs occasionally target loofah leaves and young fruit. Hand-pick adult bugs into soapy water early in the morning, and use floating row covers over young transplants until flowering begins. Detailed care guides from Explore Tree suggest inspecting stem bases weekly to catch squash vine borer activity early.
Frequently Asked Questions
Can you grow loofah sponges in containers?
Yes, loofah vines grow successfully in containers that hold at least 5 to 10 gallons of potting mix per plant. Ensure containers have large drainage holes, and position them directly at the base of a permanent wall or trellis system.
How long does it take to grow a loofah sponge from seed?
Loofah plants require 150 to 200 frost-free days from seed germination to final fruit harvest. Starting seeds indoors early accelerates development to ensure fully matured sponges before autumn cold snaps arrive.
Why are my loofah flowers falling off without setting fruit?
Early male blossoms naturally drop off after releasing pollen. If female flowers drop without setting fruit, poor pollination or excessive nitrogen fertilizer is usually the cause. Hand-pollinate open female blooms early in the morning to increase fruit yields.
Are green loofahs edible?
Young green loofahs measuring under 6 inches in length are completely edible and taste similar to zucchini. Once fruits mature past this stage, fibrous internal networks harden, rendering them inedible but ideal for sponge harvesting.
Start Your Loofah Garden Today
Mastering the complete lifecycle of growing loofah sponge vines transforms your garden into a sustainable production space for home essentials. Clear a sunny plot near a sturdy fence, scarify your seeds early, and establish a firm trellis system before spring planting. Within one warm season, you will produce dozens of long-lasting, all-natural sponges while reducing household plastic waste. Select your seed varieties today and prepare your seed-starting trays for the upcoming growing season.
Our other loofah Guides
Loofah With Handle: 7 Reasons It Is Easier
Best Back Loofah Options for Full Coverage 2026 Guide